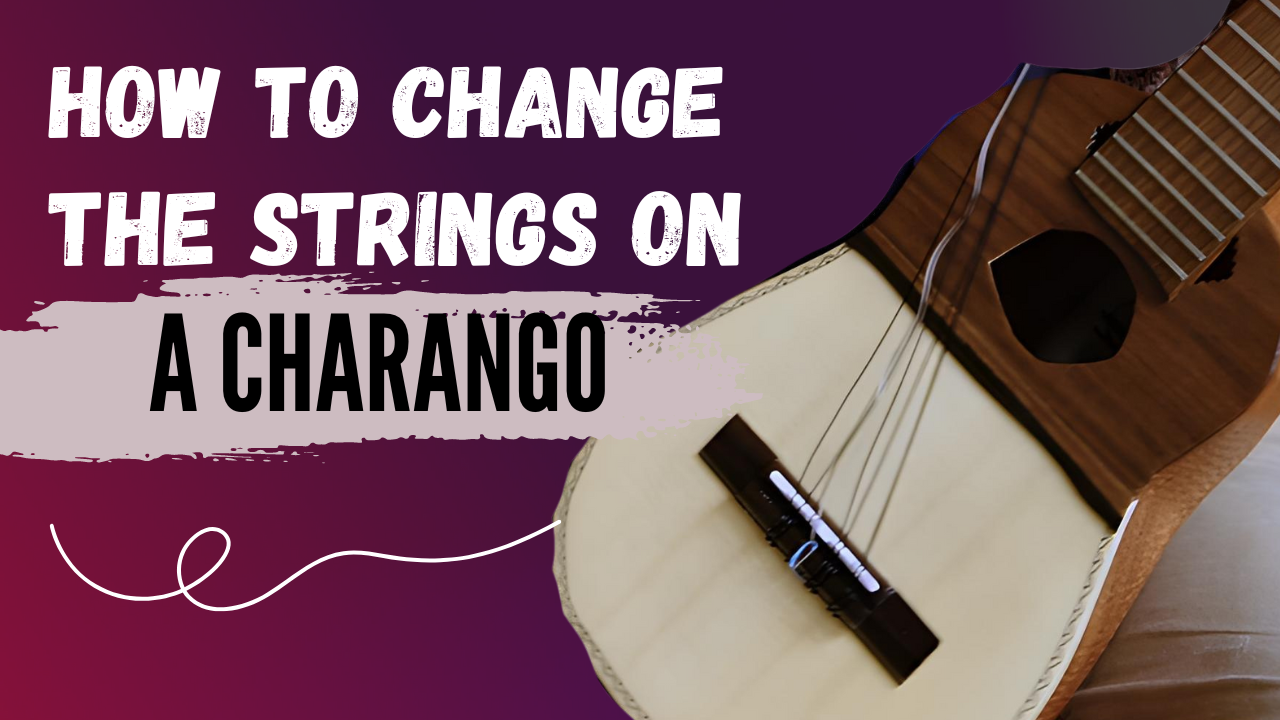
If you’re wondering how to change the strings on a charango, ronroco, or charangón, you’re in the right place. In this guide, I’ll explain step-by-step how to perform this operation. Let’s see how to do it together. First, consider that changing the strings on these instruments is not technically different from doing so on a classical guitar or ukulele, as the methods of anchoring the strings to the bridge and the tuning pegs are the same.
If you have any doubts about the terms I use in the article, you can refer to this article for an essential glossary.
Equipment
The first thing I recommend you purchase is a string winder. This tool is inexpensive and will make your job much easier, reducing the effort needed with your hand, as it allows you to turn the tuning pegs much faster. And on a ten-string instrument, that’s no small thing! These, for example, work great.
Removing the Old Strings
- Reducing Tension: Start by reducing the tension of all the strings. You can do this by slightly loosening each tuning peg and then manually removing the string from the hole in each tuning peg. Use tweezers if you have difficulty. If you want to cut the strings, do not do it while they are under tension: reduce the tension significantly to avoid stressing the bridge.
- Removing the Strings: Once the string is removed from the tuning peg, loosen the bridge knot by gently pulling it and completely remove the string by sliding it out of the bridge hole. Repeat this step for all the strings.
Cleaning the Instrument
Once the instrument is completely free of strings, take the opportunity to clean it. This is the ideal time to remove dust that accumulates in hard-to-reach places when the strings are mounted.
Installing the New Strings
- Order of the Strings: New strings are always ordered from the first to the fifth pair. On the charango, and generally on all plucked instruments, the pairs of strings are numbered starting from the farthest to the closest to your face. The first pair is the high E pair. Each new set of strings clearly indicates the names of the strings, so read the installation instructions carefully.
- Installing at the Bridge: Take the new string and pass it through the bridge holes. Tie a simple knot, then wrap it around itself a couple of times to secure the knot. For higher-pitched strings, you might do three wraps instead of two.
- Installing at the Tuning Peg: Pass the other end of the string through the tuning peg hole. There are different techniques: some simply wrap the string around the tuning peg, others make a small knot before starting to wind. I prefer to start winding directly.
Tuning and Settling the Strings
- Tuning: Start tightening the strings with the string winder. Initially, proceed carefully because if you tied an incorrect knot, the string might pop out: no big deal. Retie it correctly at the bridge. Use a tuner to bring each string to the correct pitch. During the first few days, the strings will lose some tension as they settle.
- Settling: The string needs to stretch and settle into position. This process can take from one to three days, depending on the string material. With Aquila strings, I usually don’t have problems for more than a couple of days.
- Preparation for a Concert: If you have a concert or performance scheduled, change the strings at least a few days in advance to avoid tuning issues on the day itself.
Changing the charango strings is simple if you follow these steps. Once finished, your instrument will be ready to play with a new voice, as the strings are truly the soul of the sound (and if you want to see an experiment, watch this video I made on the subject). If you have any questions or doubts, don’t hesitate to contact me. I’m here to help!
